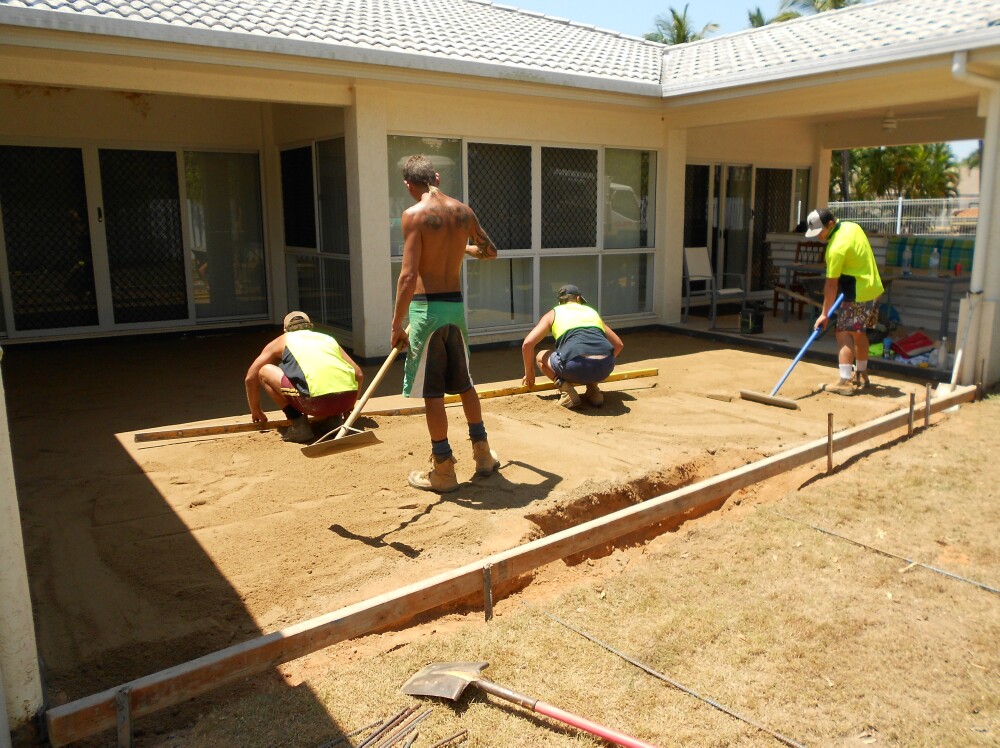
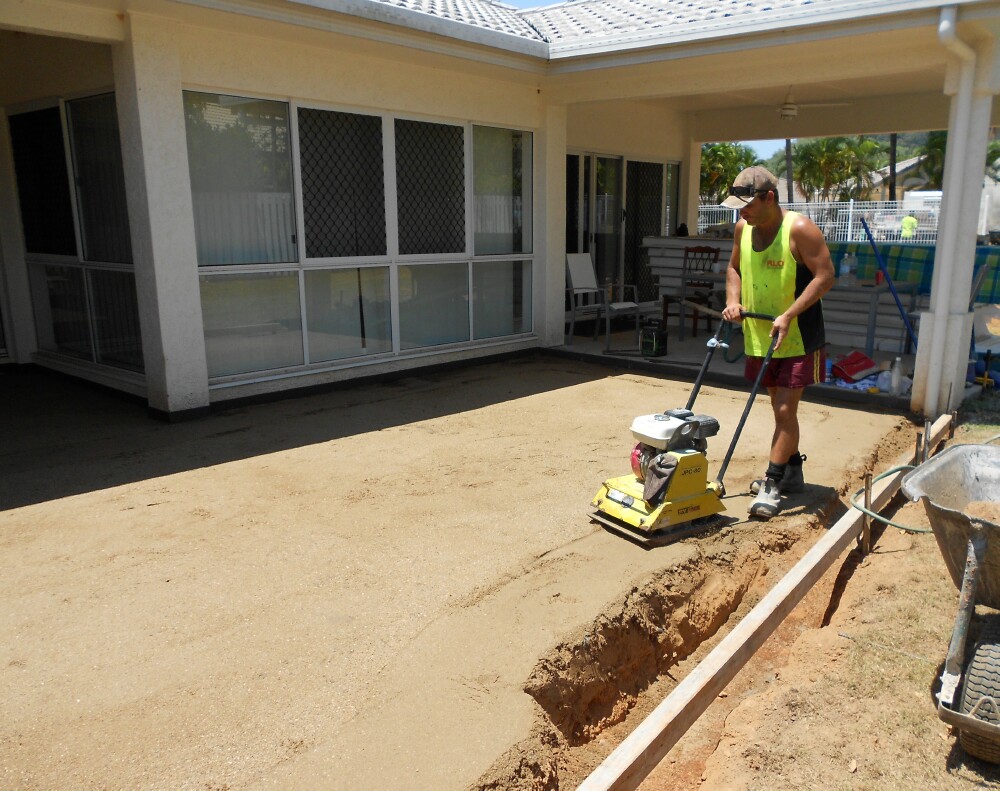
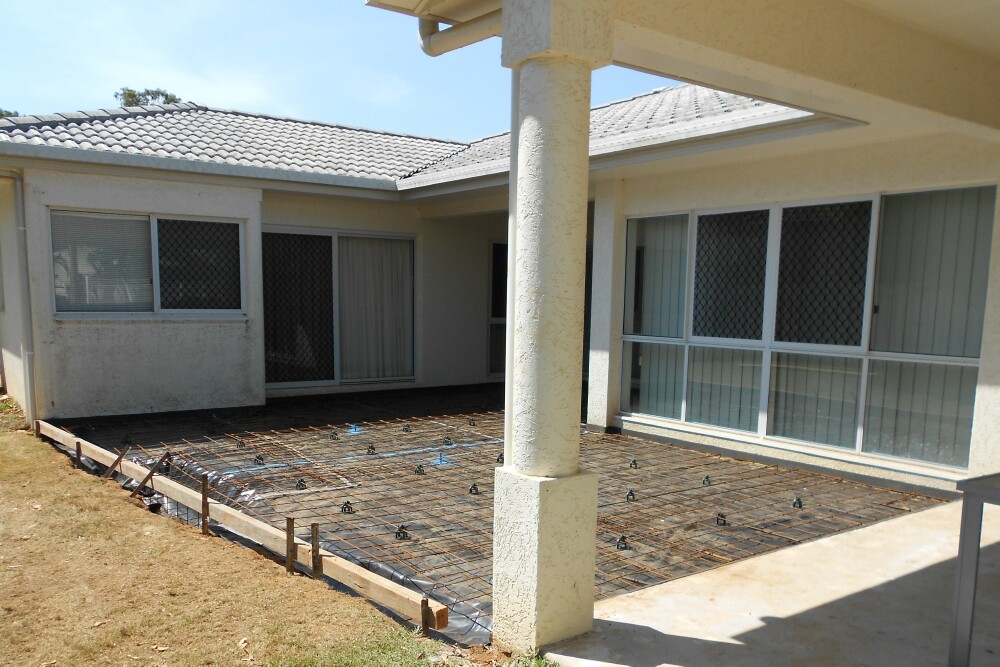
(Return to "Brett and Kahlia's Home - Swimming Pool and Patio Extensions Index" page)


.

The 'New / Extended' Patio Area

Preparing and Boxing Out for the New Slab

twenty one photos

Monday 26th September 2011

It's time to get started !! ... and Richard jumps on the excavator

.

It is interesting to watch a good machine operator at work

Just about finished

Loading up all the rubbish

.

A laser level was used and height marks were made on the walls
and then these guys used a chalk line to make a continuous line around the house walls

In this shot, the footing along the grass edge has not yet been dug

I don't know what the black 'spacing' material is called ... it is self adhesive and was stuck on the walls and existing slab
at the height of the chalk line ... and naturally it will be covered completely when the tiles are laid across the whole area

The blue dots on the ground show where the house slab will be drilled
and then the rio-bars will be driven in and this then ties the new slab in with the old

... and the drilling is underway

The footing for the centre post of the new roof has been started

The footing is finished and it's time now to set the level for the front edge

Next there was a fill sand delivery ...

... and this was spread out ...

... and screeded to the right level ...

... and finally it is whackerpacked down hard

Also, the downpipe attached to the patio pillar will be removed before the slab is poured

Laying out the builder's plastic

Here the rio-bars are being put in the existing slab ... as you can see clearly along the patio edge

While all this was going on, the mesh was delivered ...

... and this is now being cut and laid

The 'chairs' are now in place and all the mesh has been tied off

Everything is ready for the concrete pour at 7.30am Tuesday 27th September 2011

Here are a couple of notes about the 'Blue Marks' in the three photos below

PEGS

String lines were run across the area and
these four pegs were set just below the
final height of the slab ... they are a
guide to assist the concrete finishers
with the level and fall of the slab

After the screeding was completed,
these pegs were hammered down
before the final finishing
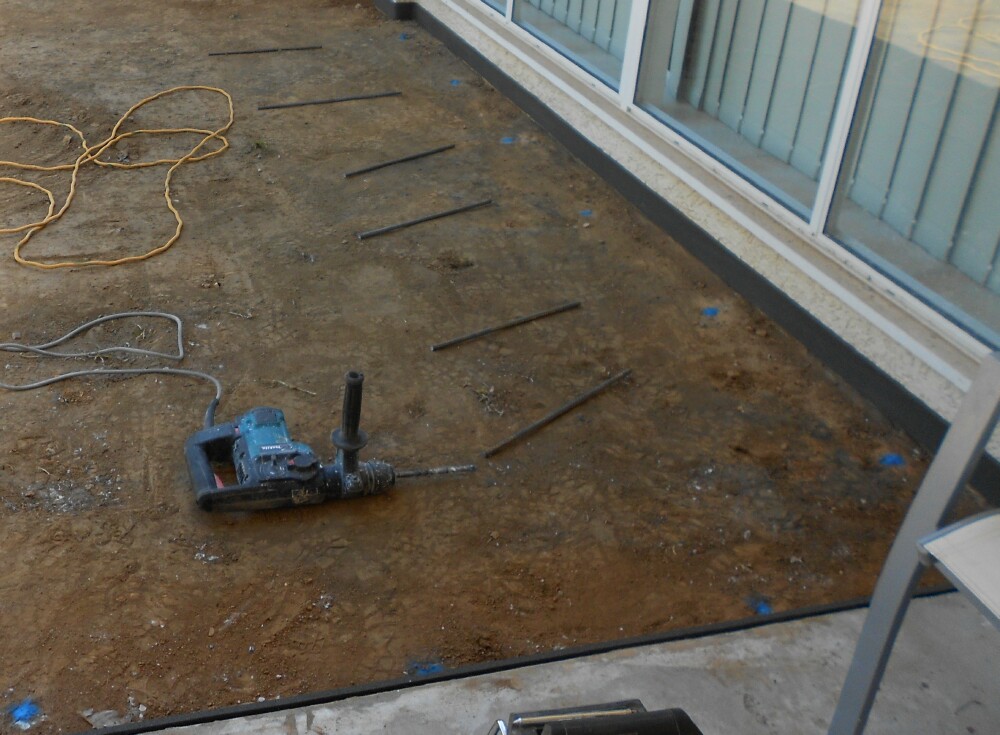
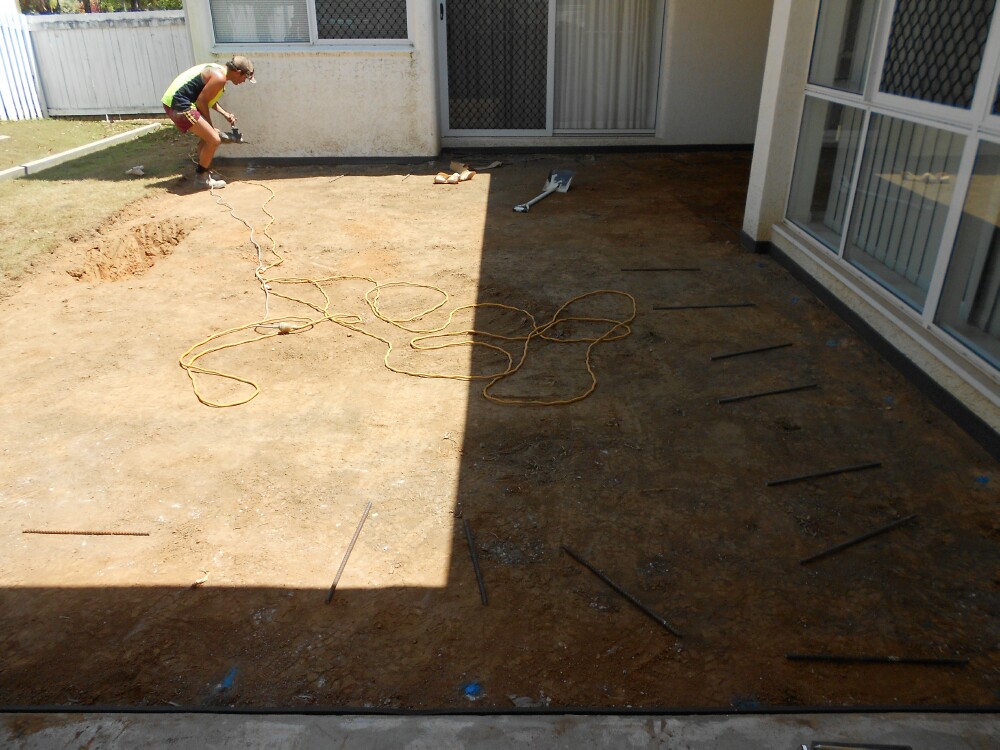
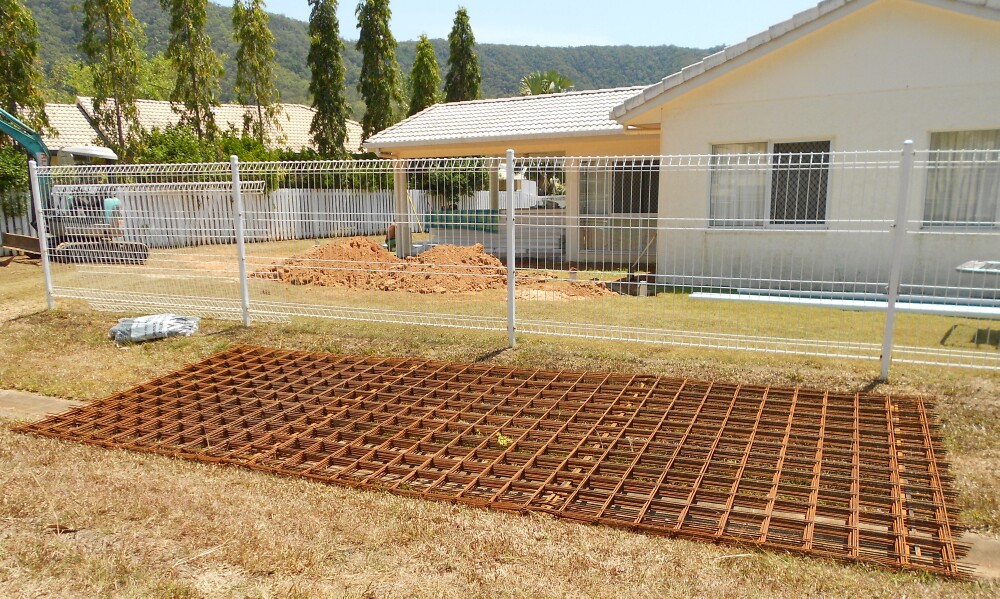
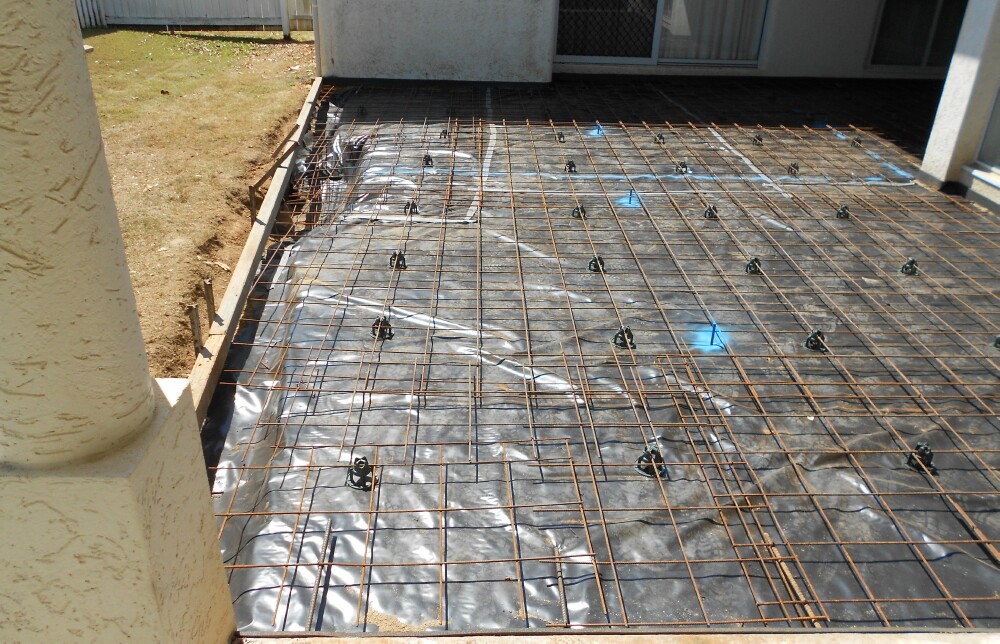
LINES

Most (all) slabs of this size crack and these two lines show where it
has been "encouraged" to crack ... every second bar of the mesh has
been cut to weaken it along that line and Richard said he will also
cut the slab tomorrow to a depth of 25mm (?) along each one
also, when the tiles are laid, these will join along the lines and
mastick will be used and this will stop any cracking of the tiles

To see the expansion joints,
have a look at the last two photos on THIS page

.

.


x

x

x