(Return to "Brett's Home Unit" albumn)


Brett's Home Unit

Rear Patio and Garden

These changes and improvements were completed on Monday 24th November 2008

this page is best viewed with a resolution of 1200 pixels wide so set your screen/monitor to it's maximum size
there are twenty-two pictures on this page so give it time to download completely

Dozens of photos were taken when Brett first moved into this home unit
Most of these shots were the inside and outside of the building ... and not many were concentrated on the garden areas
However, there are a few shots
HERE and HERE and HERE
which give an idea of what this patio area and garden looked like beforehand

??--What were the Changes--??

#1 - firstly, the patio furniture table and chairs were moved before taking these photos
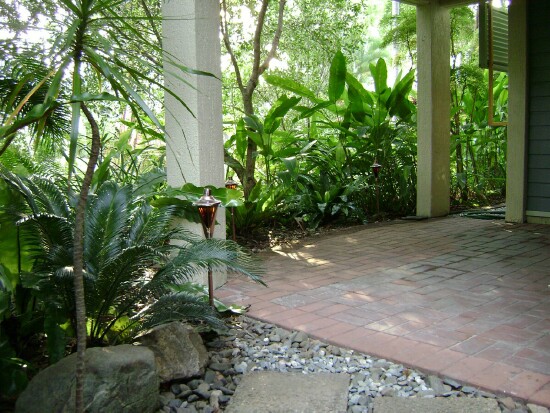
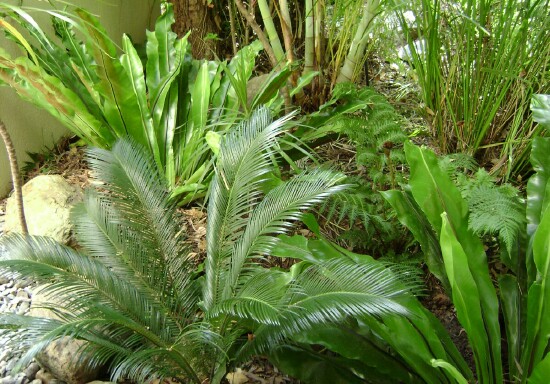
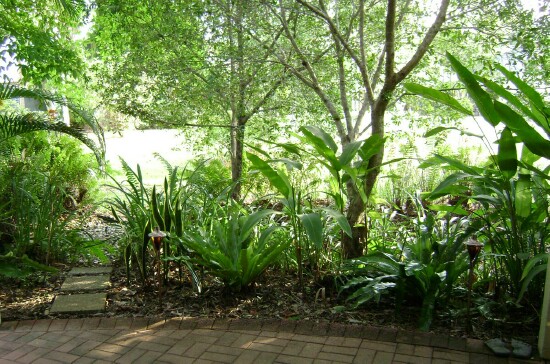
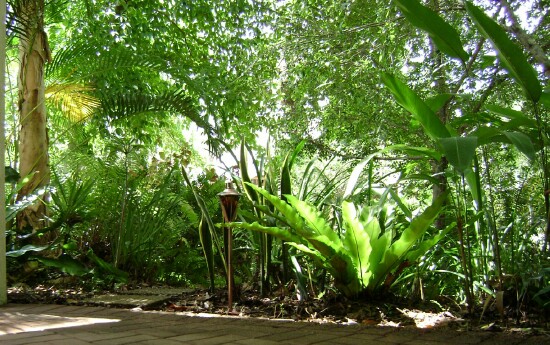
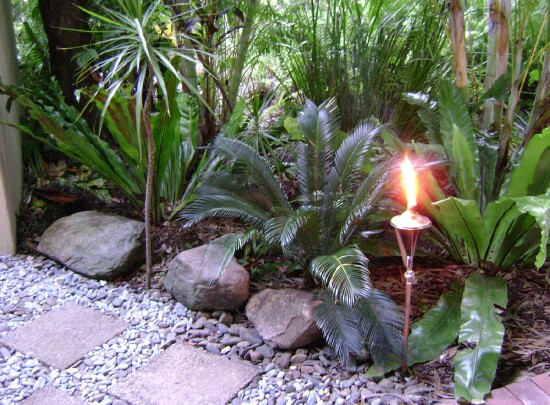
#2 - planting of four huge bird's nest ferns and these appear in most of the photos below
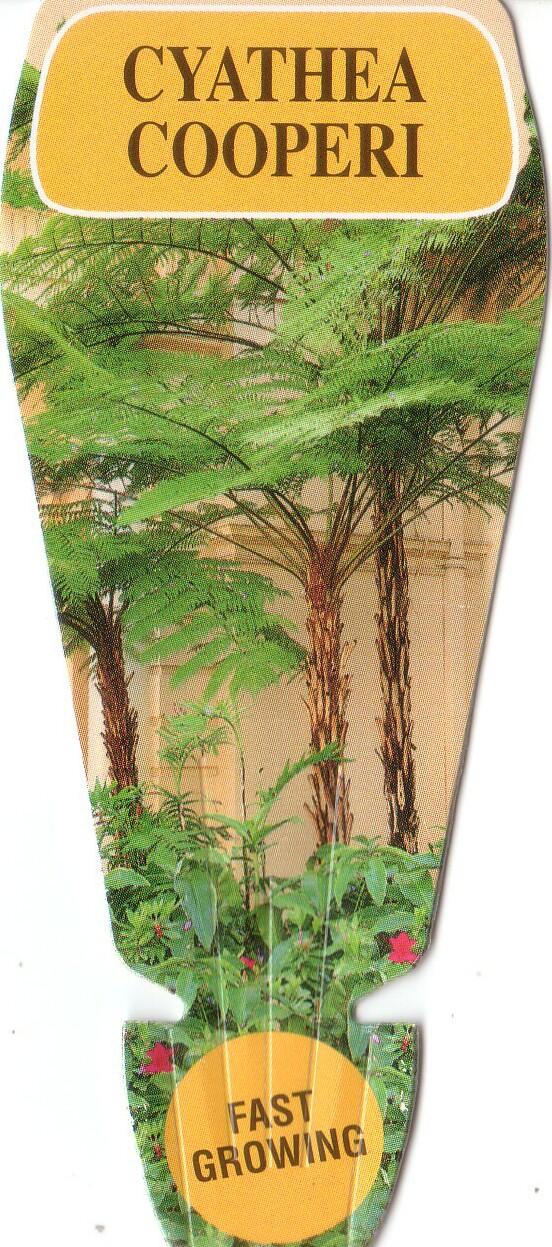
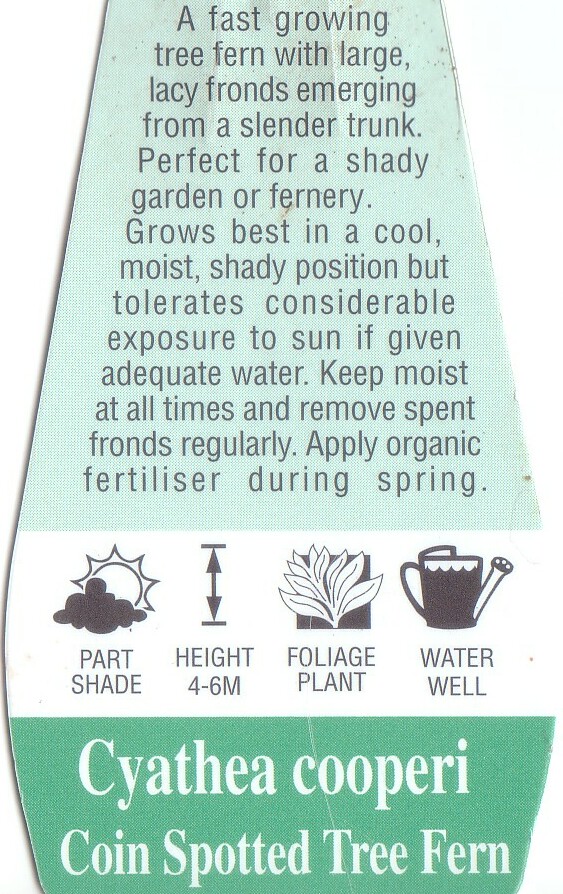
#3 - planting of a tree fern and this is most visible in Photo #09
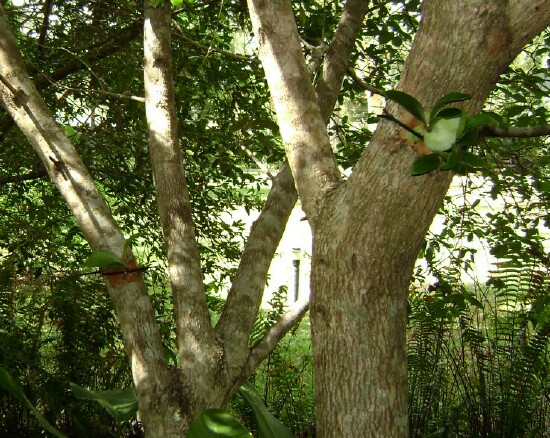
#4 - attaching small staghorn ferns to one of the trees and these can be seen in Photo #16
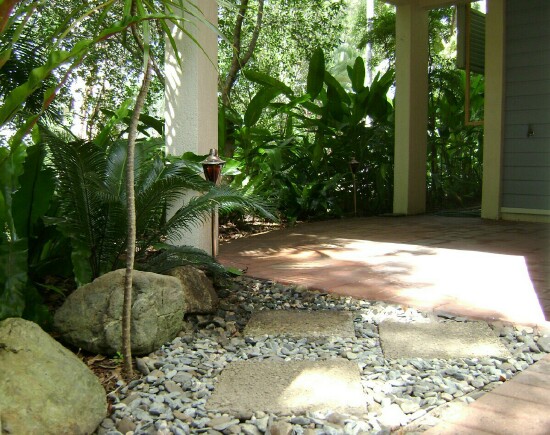
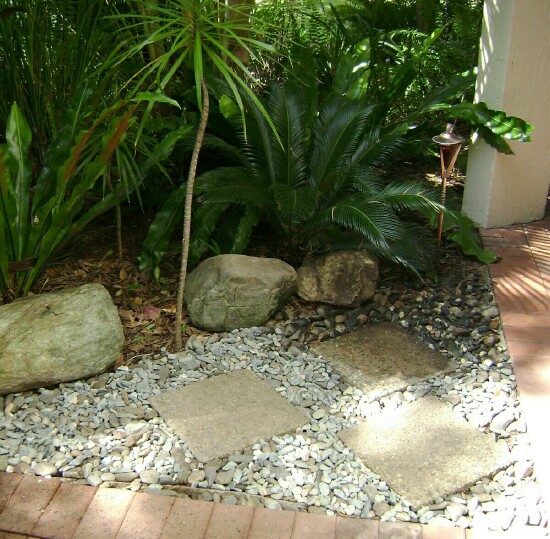
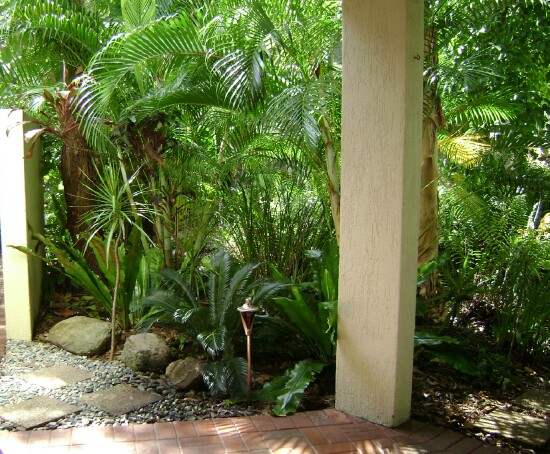
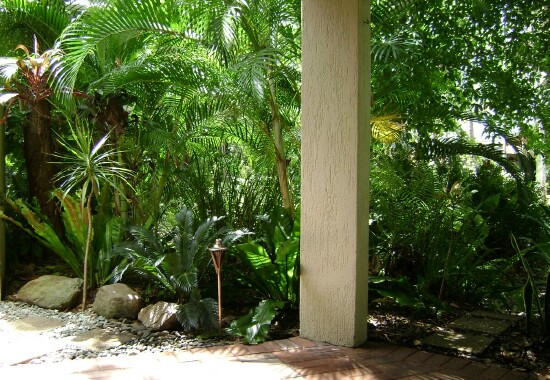
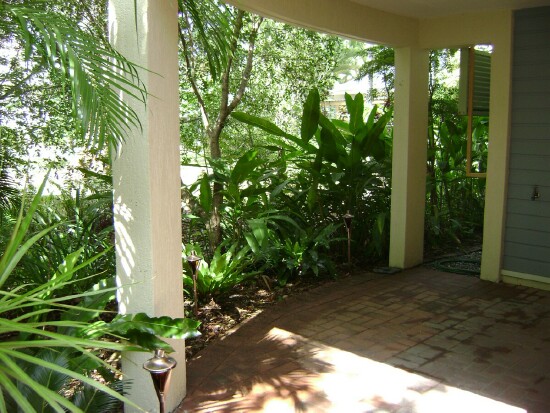
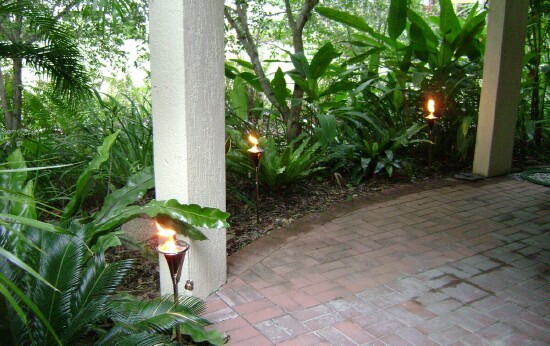
#5 - the entrance to the patio from the carport can be seen best in Photos #02, #03 and #04 ... the paving stones were reused from near the tap-and-hose area and these were then surrounded by river stones ... Brett shifted the landscaping rocks from the back of the garden to the front and these form a great looking border
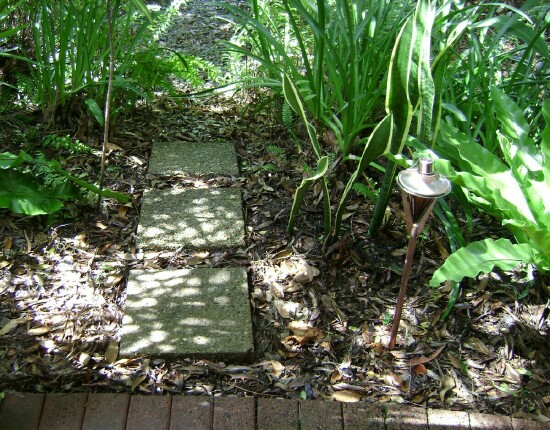
#6 - Brett cleared a path from the patio leading down to the small creek/drain which runs just behind the patio ... this was needed as across the other side is the large grassed common area ... and access to one of the swimming pools in the complex ... three pavers were used as steps down to the creek and these can be seen in Photos #12 and #13
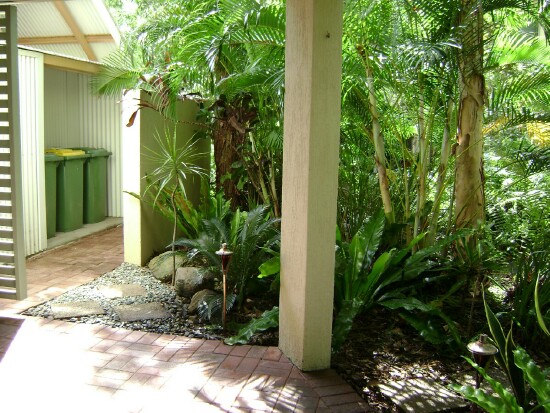
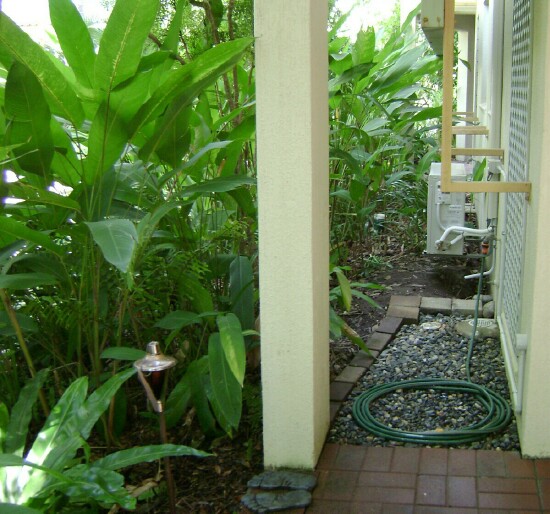
#7 - there was a 'wet' area near the tap and this turned a bit muddy when using the hose and washing down ... edging was used to make a path which was then covered in river stones and Photo #17 shows this very clearly
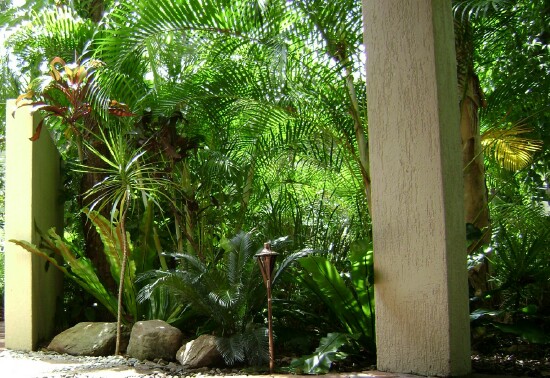
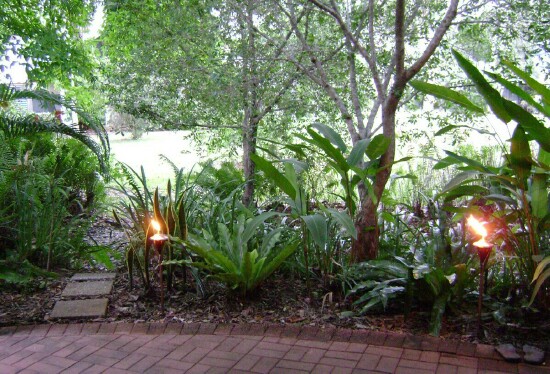
#8 - purchase and installing three insect/mosquito repellent lamps and these burn cintronella and sandlewood oil ... they can be seen in most of the photos, and are shown alight in Photos #18, #19 and #20
#9 - all of these photos show off the changes very well ... I particularly like the ground level shots in Photos #07, #14 and #15

!!!--Simply click on the photos to see a much larger version of each one--!!!


Photo #01

Photo #02


Photo #03

Photo #04


Photo #05

Photo #06


Photo #07 ... taken from ground level

Photo #08


Photo #09 ... the tree fern

Photo #10


Photo #11

Photo #12


Photo #13

Photo #14 ... taken from ground level


Photo #15 ... taken from ground level

Photo #16 ... the staghorns


Photo #17

Photo #18


Photo #19

Photo #20

The New Plants

Staghorns
As shown in Photo #16

Bird's Nest Ferns
Also called crow's nest fern
The commonly grown species is 'Asplenium australasicum' but is better known as 'Asplenium nidus'
This is a fern in wet forests and rainforests of south and central coasts of New South Wales and coastal Queensland to Cape York and Asia
It grows on trees (epiphytic) or rocks (lithophytic) and occasionally in the soil
Being naturally an epiphyte or lithophyte, it's good for growing under trees where few other plants can compete with tree roots
Because of its small root system it is suited to planting in pots or tubs, fern baskets or in the ground
Large, elliptical shaped, leathery fronds rise from a central stem to form a deep, saucer shape
The diameter of the spreading fronds can reach three metres - smaller in northern places
Fronds unroll and have a very prominent dark midrib and undulating margins
The dramatic form works well with a modern garden style as well as a more naturalisitic rainforest garden
A hardy and popular fern in cultivation, likes plenty of moisture, good drainage and plenty of organic material
Can withstand plenty of sun, likes some shade
Spores on the underside of the fronds in parallel rows and propagate from spores or by division

Tree Fern
As shown in Photo #9
All the details are below