(Return
to "Brett and Kahlia's Home - Swimming Pool and Patio Extensions
Index" page)
.
 .
The
Swimming Pool
NOTE - there are twenty seven photos
on this page
.
The
Swimming Pool
NOTE - there are twenty seven photos
on this page
and it may take a few extra seconds to completely download
The
Pebble Finish
... Page #01
Preparing
the Pool
Wednesday 23rd
November 2011
Over the past few weeks, quite a
bit of "gunk-and-junk" had dropped into the pool and
this needed to be scrapped off
along with adhesive that had run down the walls when the 'bullnose'
edging was applied
The planks across the pool are to
allow access to the Water Feature which was being finished off
at the same time
 The pool was then completely washed
down
The pool was then completely washed
down
 .
.
 The white tube is called a 'slurpy'
and using water/hose pressure, it sucked all the rubbish out of
the pool
The white tube is called a 'slurpy'
and using water/hose pressure, it sucked all the rubbish out of
the pool
 In the following three shots,
you can see the approximate position of some of the blue highlight
tiles which will be embeded in the finish
 .
.
 .
.
 Having been buried for sometime,
here is the pressure release valve once again !!
Having been buried for sometime,
here is the pressure release valve once again !!
 ****************************************************************************
Applying
the Finish
Thursday 24th
November 2011
Unloading all the materials ...
****************************************************************************
Applying
the Finish
Thursday 24th
November 2011
Unloading all the materials ...
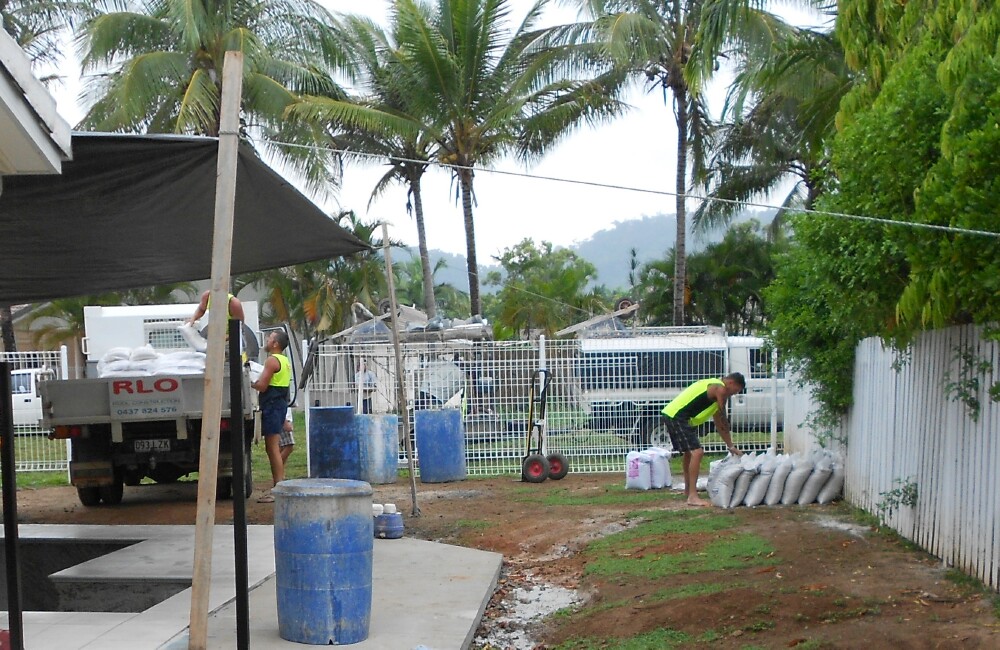 ... and here it all is ...
 ... including the very important
... BLUE CRYSTALS
... including the very important
... BLUE CRYSTALS
 It was a rainy day ...
 ... but everything is under cover
and ready to go
... but everything is under cover
and ready to go
 ****************************************************************************
!!
UNDERWAY !!
The mix was applied by hand ...
****************************************************************************
!!
UNDERWAY !!
The mix was applied by hand ...
 ... and here is a close up look
as it is being applied
... and here is a close up look
as it is being applied
 Shovel Full by Shovel Full
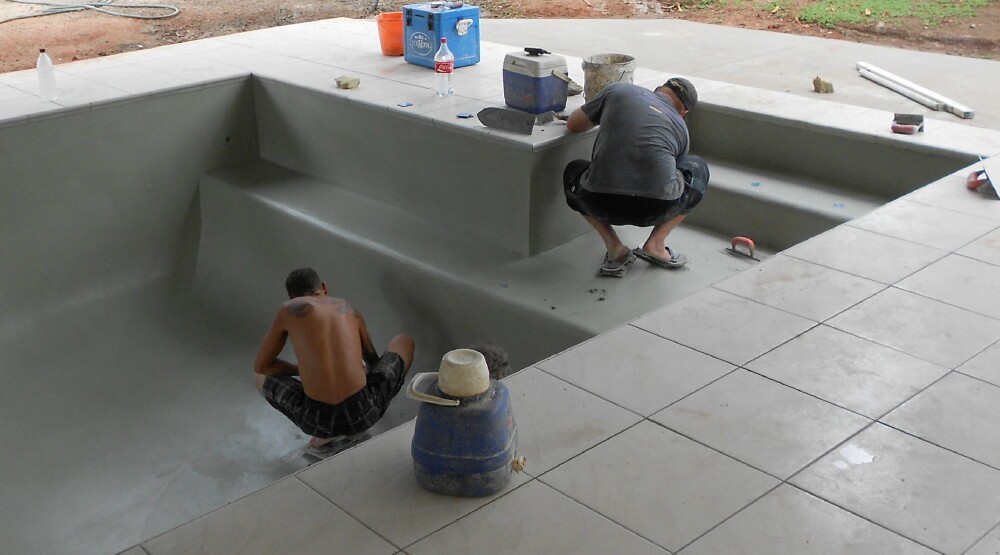
 The trowelling commenced soon after
the application
The trowelling commenced soon after
the application
 .
.
 The highlight tiles have been set
on the seat / step at the deep end of the pool
The highlight tiles have been set
on the seat / step at the deep end of the pool
 Slowly but Surely
 .
.
 In the following photos you'll see
that the contractors are wearing "shoes" like this
In the following photos you'll see
that the contractors are wearing "shoes" like this
which are very sophisticated ... being a pair of thongs taped
to a metal plate !!
The important thing is that the
plate has spikes on the bottom
so walking around disturbs the depth and surface as little as
possible
 ... and here are the shoes in action
!!
... and here are the shoes in action
!!
 Laying the highlight tiles on the
top entrance step ...
Laying the highlight tiles on the
top entrance step ...
 ... and then on the longer second
step
... and then on the longer second
step
 Just about done
 !!
FINISHED !!
and the pool is ready for Part Two
of the Pebble Finish Application
!!
FINISHED !!
and the pool is ready for Part Two
of the Pebble Finish Application
 ... and CLICK
HERE to go to Page #02
... and CLICK
HERE to go to Page #02
x
x
x